Walk outside and look at your backyard. Is the concrete cracked? Is the patio covered in moss so thick you can't remember the original color? Does the whole space turn into a mud pit from October to May? Is there a section where water pools every time it rains and never fully drains?
That is what Seattle's climate does to outdoor surfaces that were not built for it. Poured concrete cracks. Wood decks rot and turn slippery. Gravel washes out. And the yard you imagined using for weekend dinners and summer evenings just sits there, unusable, for most of the year.
Pavers solve all of these problems. They don't crack like concrete because each unit flexes independently with ground movement. They drain properly when installed on the right base. They resist moss better than wood or poured slabs. And when one piece gets damaged, you pull it out and replace it without touching the rest. No jackhammer. No demolition. No re-pouring.
At LandscapingFactory, we design and build paver patios, driveways, walkways, retaining walls, and complete outdoor living spaces across Seattle and the Eastside. We are local. We know Seattle's soil. We know the drainage. We know what lasts here and what doesn't. And we build everything to handle 60+ inches of rain a year without settling, shifting, or falling apart.
Paver Patios: The Foundation of Your Outdoor Space
A patio is where your yard becomes usable. It is where you eat dinner outside, where the kids play, where you put the grill and the furniture and the fire pit. Without a solid, flat, well-drained surface underneath all of that, you are fighting mud, pooling water, and uneven ground every season.
We build paver patios from 200 square feet to 1,500+ square feet, depending on your yard and your goals. Every patio starts with a full site assessment where we evaluate the soil, the grade, the drainage patterns, and the relationship between the patio and the house foundation. Then we design a layout that works with your space, not against it.
Paver patios work for dining areas, lounge spaces, hot tub pads, play areas, and everything in between. The surface stays level, drains properly, and does not become a slip hazard when wet if you choose textured pavers with grip, which we always recommend for Seattle.
Have a backyard that's not pulling its weight?
Tell us what you want to do with the space and we'll design a patio around it. Free estimate.
Paver Driveways: Stronger Than Concrete and Better Looking
Your driveway takes more abuse than any other surface on your property. Cars, delivery trucks, freeze-thaw cycles, tree roots pushing from below, and years of UV exposure. Poured concrete handles this for 10 to 15 years before the cracks start. Then you are looking at a jackhammer, a dumpster, a full re-pour, and a week of disruption.
A paver driveway handles all of it differently. Each unit is independent. When the ground shifts, the pavers flex with it instead of cracking. When tree roots push up underneath, you remove the affected section, shave the root, rebuild the base, and lay the pavers back down. Same pavers. No demolition. No new concrete. No color mismatch.
For driveways, we recommend herringbone pattern installation. The angled interlocking layout distributes vehicle weight across multiple pavers at once, preventing individual stones from shifting or sinking under the tires. This is the standard pattern used on commercial loading docks and municipal streets for exactly this reason.
Walkways and Garden Paths
A paver walkway does two things: it gets people where they need to go without stepping in mud, and it connects the different areas of your property into a single, cohesive design. Front entry walkway from the driveway to the door. Side yard path from the front to the back. Garden path through the planting beds. Pool deck pathway. Each one has a different width, a different load requirement, and a different look.
We design walkways that match or complement your patio material so the entire property feels intentional, not pieced together. For front entries, we typically recommend a minimum width of 4 feet so two people can walk side by side. For garden paths, 2 to 3 feet is comfortable. For paths that need wheelchair or stroller access, we follow ADA slope and width standards.
Retaining Walls: Turning Seattle's Hills Into Usable Space
Seattle is built on hills. Most yards in the city and across the Eastside have slopes, grade changes, or sections where the ground just drops off. That is not a flaw. That is an opportunity. A retaining wall turns a useless slope into a flat terrace, a raised garden bed, a seating area, or additional patio space that did not exist before.
We build retaining walls using interlocking concrete block, natural stone, and segmental wall systems. The choice depends on the height, the load, and the look you want. Walls under 4 feet are typically straightforward installations. Walls over 4 feet may require engineering and permitting, and we handle that coordination for you.
Every retaining wall we build includes proper drainage behind the wall: perforated drain pipe, clean drainage gravel, and filter fabric. Without this, water pressure builds up behind the wall and eventually pushes it over. This is the number one reason retaining walls fail, and it is the step that low-cost installers skip.
Sloped yard that's hard to use?
A retaining wall can create flat space you didn't know you had. Free site assessment.
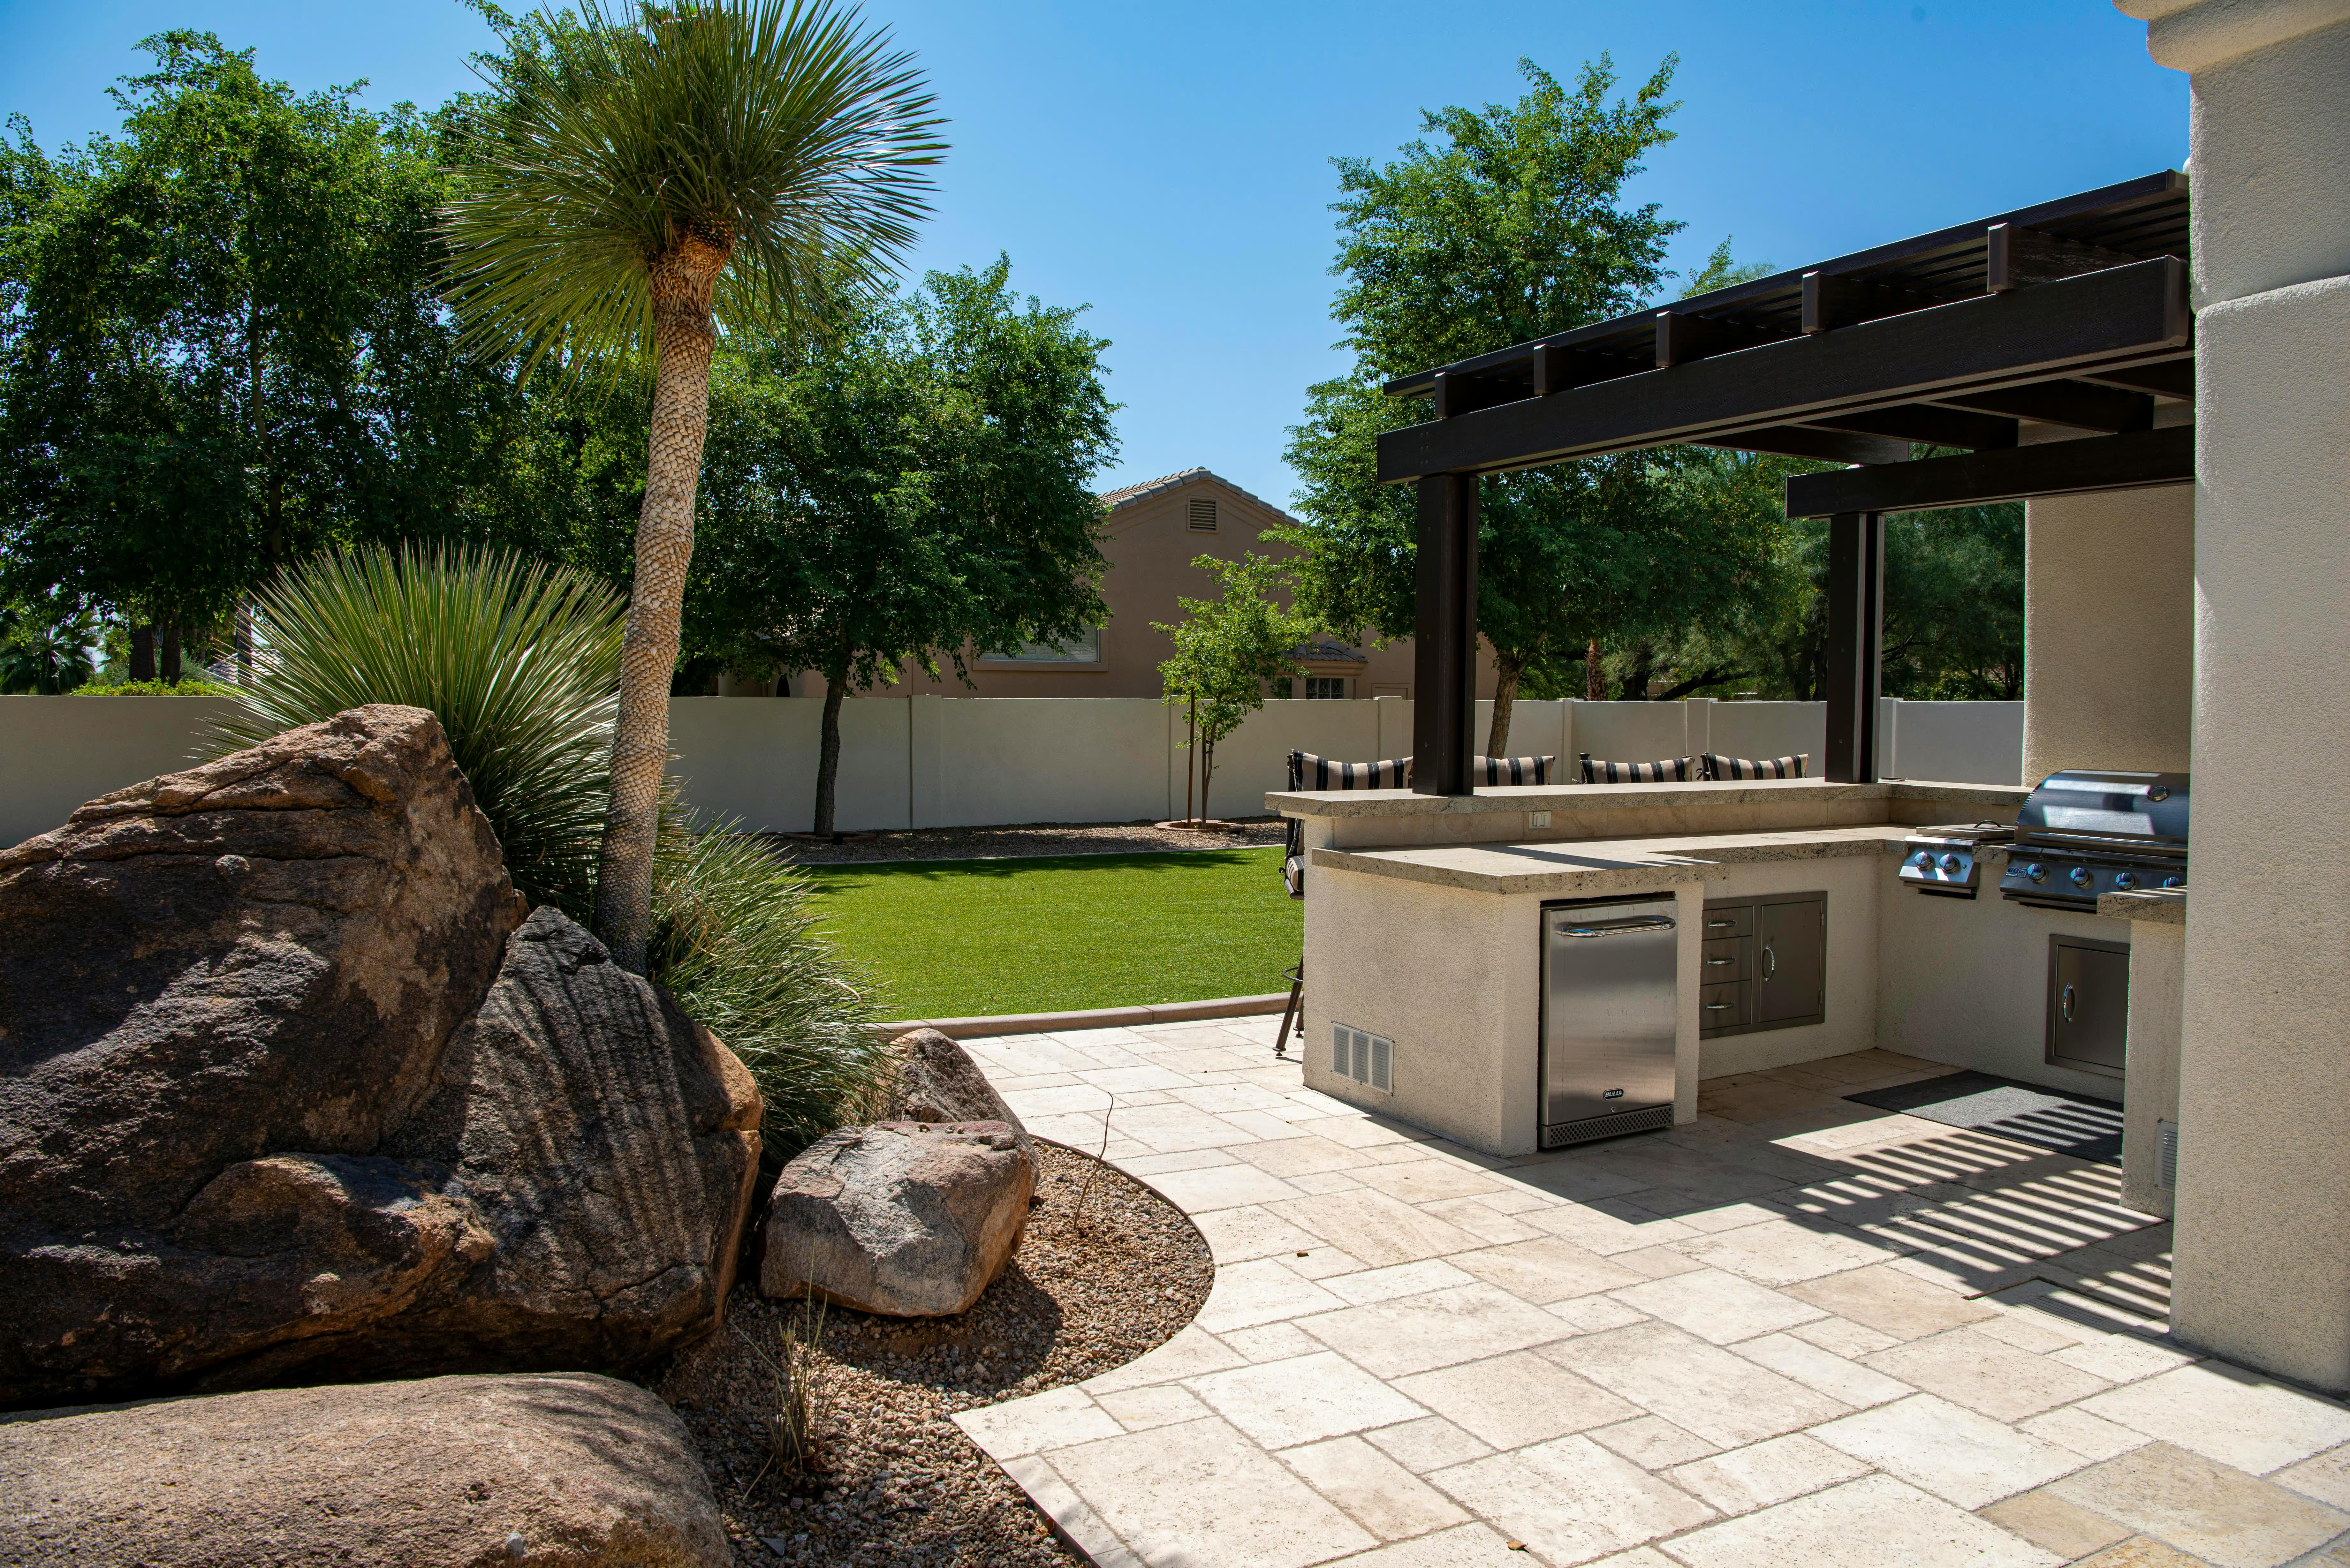
Outdoor Living Features: Fire Pits, Seat Walls, and Kitchens
A patio is a surface. An outdoor living space is a room. The difference is what you build on top of it. We integrate hardscape features directly into patio designs so everything is structurally connected, aesthetically matched, and properly supported.
Fire pits: Built-in fire pits using matching paver block or natural stone. Gas-fed or wood-burning. We install on a non-combustible base with proper clearances from structures, fences, and overhanging trees. In Seattle's mild but damp climate, a fire pit extends your outdoor season by months.
Seat walls: Low walls (18 to 24 inches high) built around patios or fire pits that double as permanent seating. Topped with natural stone caps for a finished look and comfortable sitting height. Seat walls eliminate the need for a dozen outdoor chairs and give the space a built-in, intentional feel.
Outdoor kitchens: We build the hardscape shell and countertop structure for outdoor kitchens: the paver or stone base, the block enclosure for your grill and appliances, and the countertop support. We coordinate with your plumber and electrician for gas, water, and electrical connections.
Are Pavers Better Than Concrete in Seattle?
This is one of the most common questions we get, and the honest answer is: for most applications in the Pacific Northwest, yes. Here is a direct comparison across the factors that matter most in our climate.
| Factor | Pavers | Poured Concrete |
|---|---|---|
| Lifespan | 25 to 50+ years | 10 to 20 years before cracking |
| Cracking | Individual units flex with ground movement; no cracking | Cracks are inevitable, especially with Seattle's clay soil and tree roots |
| Drainage | Permeable options available; joints allow some water through | Zero drainage; water runs off surface and pools |
| Tree root damage | Remove affected pavers, trim root, reinstall | Root lifts crack the slab; requires demolition and re-pour |
| Freeze-thaw resistance | Each paver absorbs expansion independently; no slab stress | Trapped moisture expands and fractures the slab (spalling) |
| Repair cost | $200 to $800 per section; invisible repair | $1,000+ to patch; patches always visible and mismatched |
| Slip resistance | Textured surface options for wet-climate grip | Smooth finish becomes slippery when wet or mossy |
| Customization | Dozens of shapes, colors, patterns, and materials | Limited to broom finish, stamped, or exposed aggregate |
| Resale value | High curb appeal; seen as premium upgrade | Neutral to negative if cracked or stained |
| Moss resistance | Polymeric sand joints resist moss growth | Porous surface traps moisture; moss establishes quickly |
This comparison applies to standard residential applications in the Seattle climate. Stamped concrete can mimic the look of pavers but inherits all the structural weaknesses of poured concrete.
Not sure if pavers or concrete are right for your project?
We'll walk your site and give you an honest recommendation. Free.
What Materials Do We Use for Paver Installation?
We work with four main material families. The right choice depends on your budget, your style, and what the surface needs to handle.
Concrete Pavers
The most popular and cost-effective option. Modern concrete pavers come in dozens of shapes, sizes, colors, and textures. They are engineered for strength (typically 8,000+ PSI compressive strength), handle vehicle traffic on driveways, and resist freeze-thaw cycles well. This is what most Seattle patios and driveways are built with.
Natural Stone Pavers
Bluestone, flagstone, travertine, granite, and slate. Natural stone has a look that concrete cannot replicate: real texture, color variation, and character that comes from the material itself. It costs more, but for clients who want a premium, one-of-a-kind appearance, natural stone is the answer. We source from regional suppliers whenever possible.
Porcelain Pavers
A newer option that is gaining traction in high-end residential work. Porcelain pavers are extremely dense, virtually non-porous (meaning near-zero water absorption), and available in finishes that mimic wood, concrete, or natural stone with remarkable accuracy. They resist staining, fading, and moss growth better than almost any other material. The tradeoff is higher material cost and the need for precise installation.
Permeable Pavers
Designed with wider joints or porous material that allows rainwater to drain directly through the surface into a gravel reservoir below, rather than running off into the storm drain. In Seattle, where stormwater management is a real concern (everything flows into Puget Sound), permeable pavers can reduce or eliminate the need for additional drainage infrastructure on your property. They are also increasingly encouraged by local stormwater codes.
How Do We Install a Paver Patio? (Step by Step)
A paver surface is only as good as what is underneath it. The installation process matters more than the pavers themselves, and cutting corners on any step leads to settling, shifting, and drainage failures within a few years. Here is how a professional installation works from start to finish.
Step 1: Site Assessment and Design
We visit your property, evaluate the soil conditions, measure the grade and drainage patterns, and discuss your goals for the space. We identify any underground utilities, irrigation lines, or tree roots that need to be addressed before digging. You get a written design with material options and a detailed quote before any work begins.
Step 2: Layout and Marking
We mark the exact footprint of the project on the ground with stakes and string lines. This is where you see the real shape and size of your patio, walkway, or driveway before anything is excavated. We make adjustments on the spot if needed.
Step 3: Excavation
We dig out the project area to the required depth. For pedestrian patios, that is typically 8 to 10 inches below the finished surface level. For driveways that carry vehicle weight, 12 inches or more. We remove all organic soil, roots, and unstable material until we reach solid, undisturbed subgrade. All excavated material is hauled away.
Step 4: Base Preparation and Compaction
This is the most critical step. We install a layer of clean, crushed gravel (typically 4 to 8 inches depending on the load) and compact it in lifts using a plate compactor. Each lift is compacted to 95%+ density before the next layer goes on. Proper compaction prevents settling. If this step is rushed, the patio sinks.
Step 5: Edge Restraints
We install rigid edge restraints along the entire perimeter of the project. These hold the pavers in place and prevent them from spreading outward over time. Without edge restraints, joints widen, pavers shift, and the whole surface loses its structural integrity within a few seasons.
Step 6: Bedding Sand and Screeding
A 1-inch layer of coarse bedding sand is spread over the compacted base and screeded (leveled) to a uniform thickness using rails and a straightedge. This sand layer provides the final leveling surface that the pavers sit on. It must be perfectly even. Uneven sand means uneven pavers.
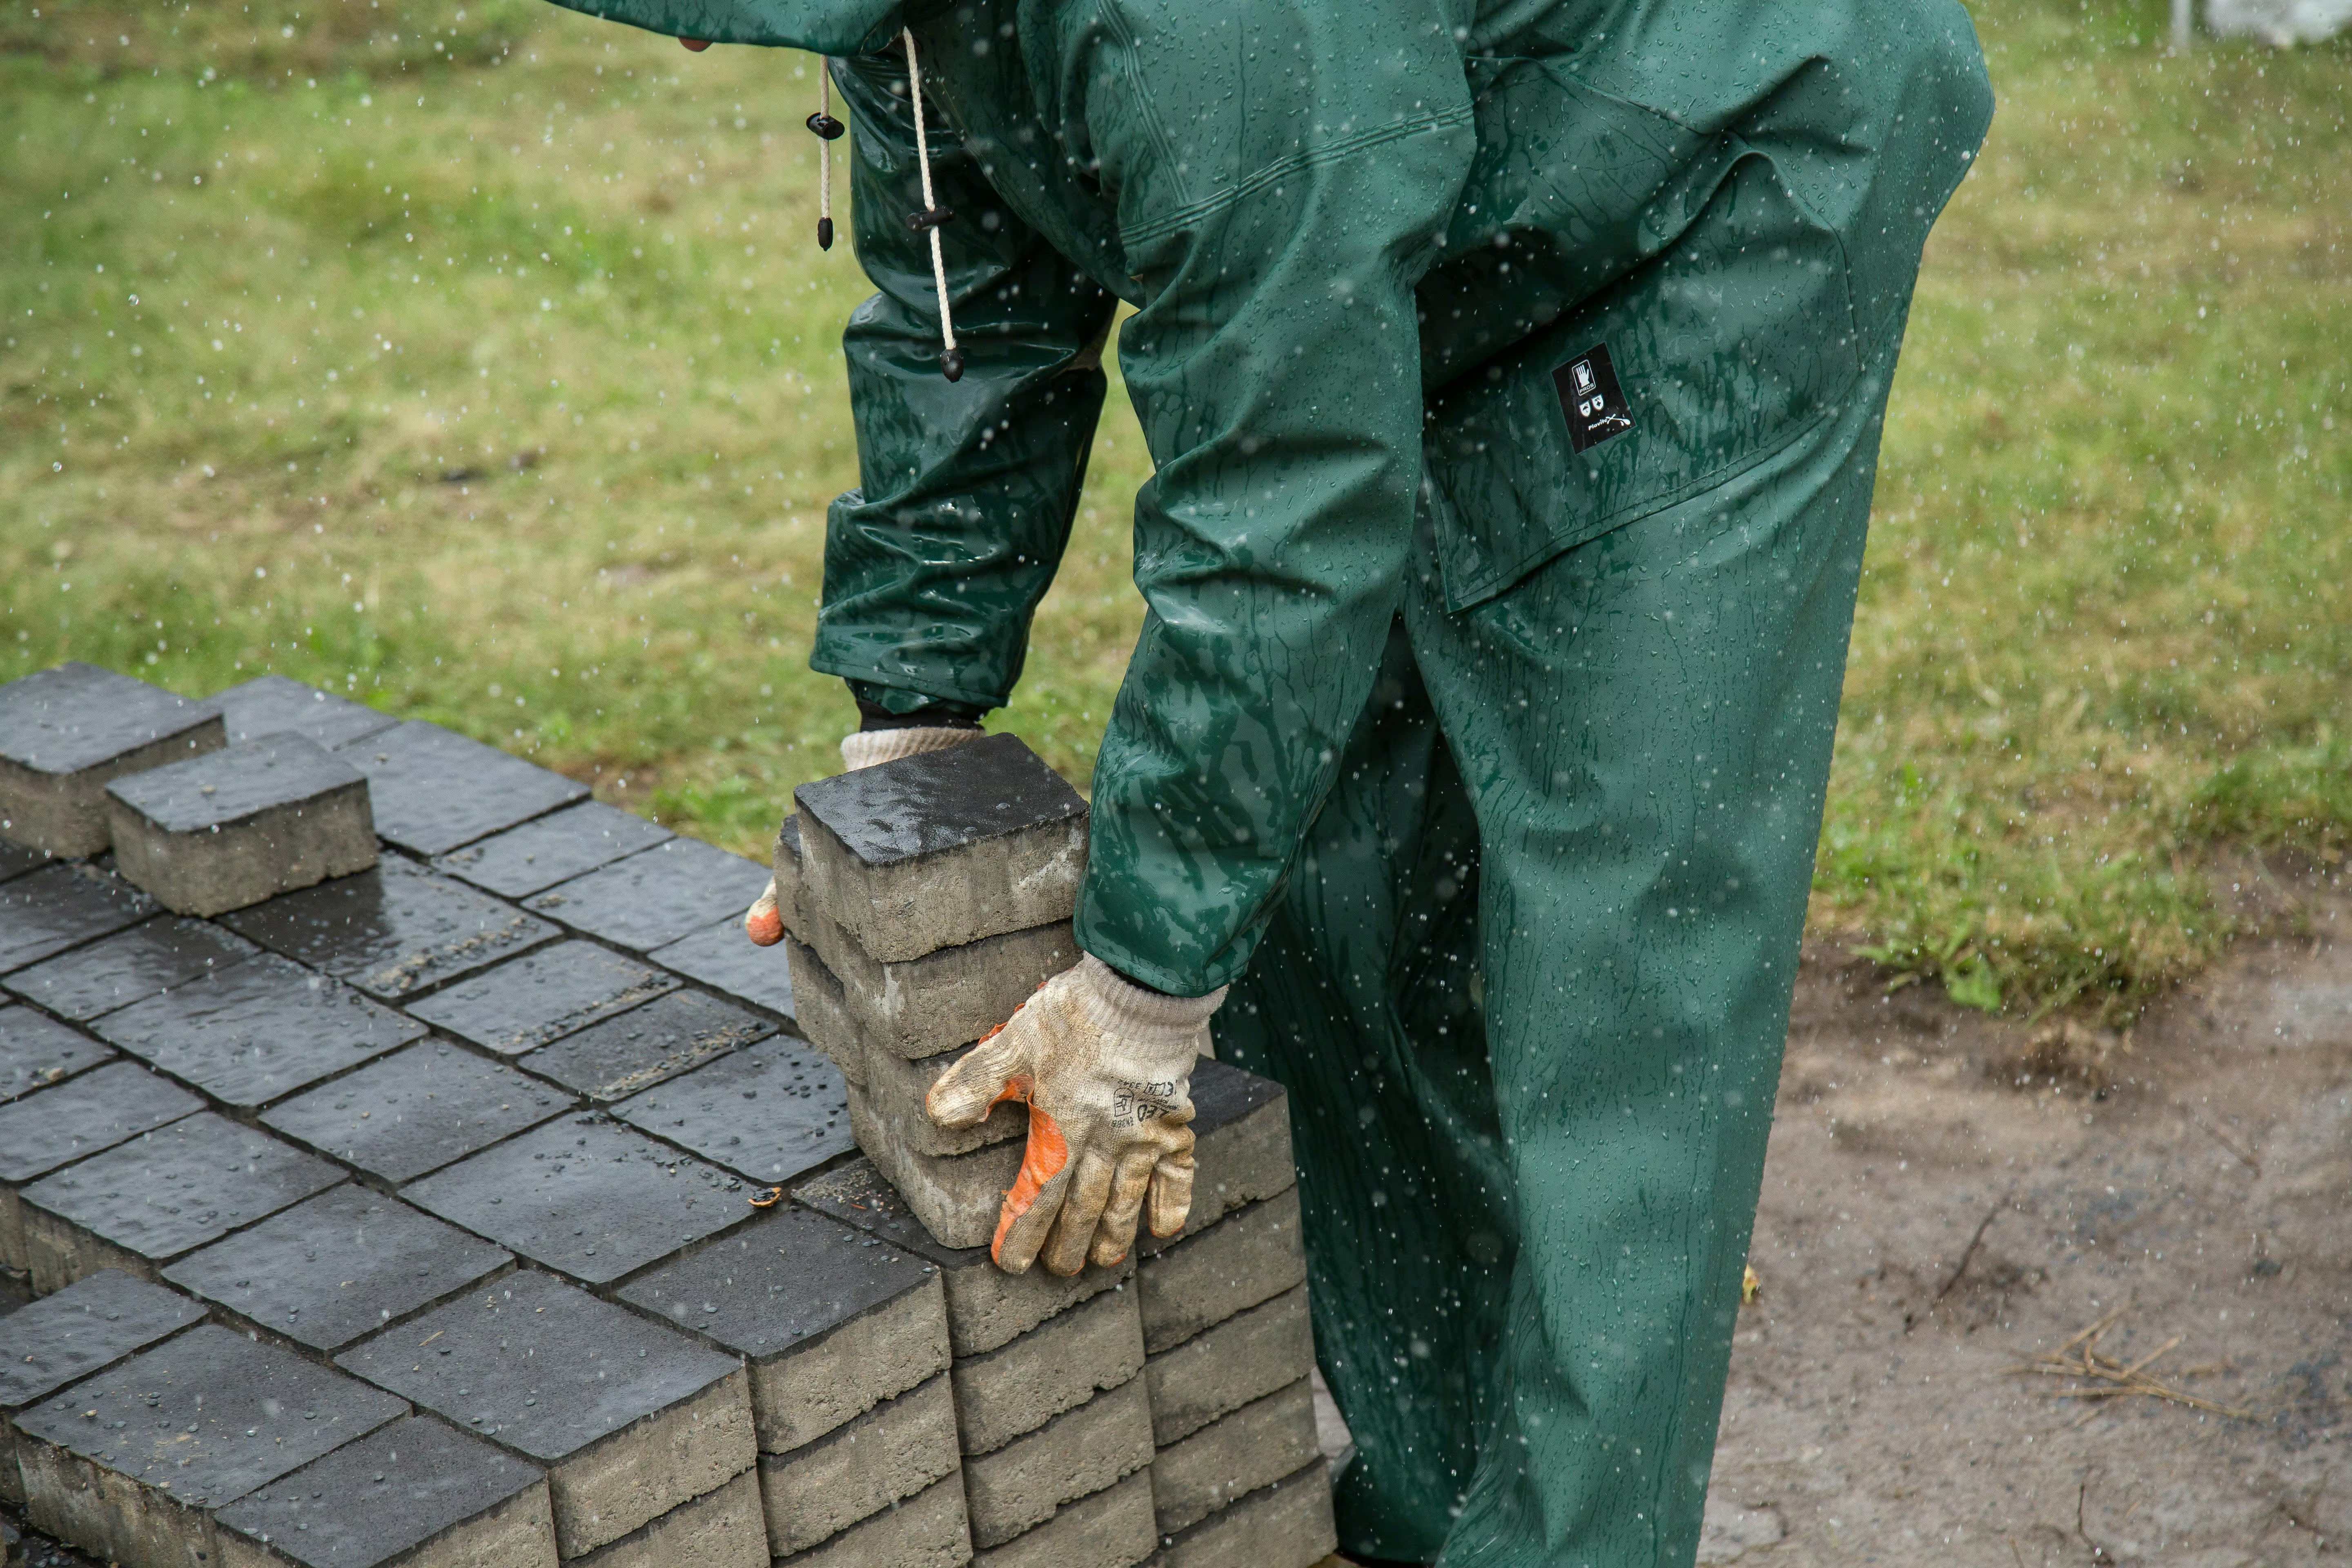
Step 7: Paver Placement
Pavers are laid by hand in the chosen pattern, starting from a fixed edge and working outward. We maintain consistent joint spacing throughout. Cuts are made with a diamond-blade saw where pavers meet edges, curves, or obstacles. Precision here is what separates professional work from a DIY job.
Step 8: Compaction and Joint Filling
Once all pavers are placed, the entire surface is compacted with a plate compactor fitted with a protective pad. This seats every paver firmly into the bedding sand. Then we sweep Polymeric Sand into all the joints. Polymeric Sand is an engineered material that hardens when activated with water. It locks the pavers together, blocks weed germination, and prevents ants from tunneling between the joints.
Step 9: Final Rinse and Activation
We mist the entire surface to activate the Polymeric Sand, triggering the binding agents that harden the joint material. We control the water carefully: too much washes the sand out, too little leaves it unbonded. The surface needs 24 hours of dry weather to fully cure.
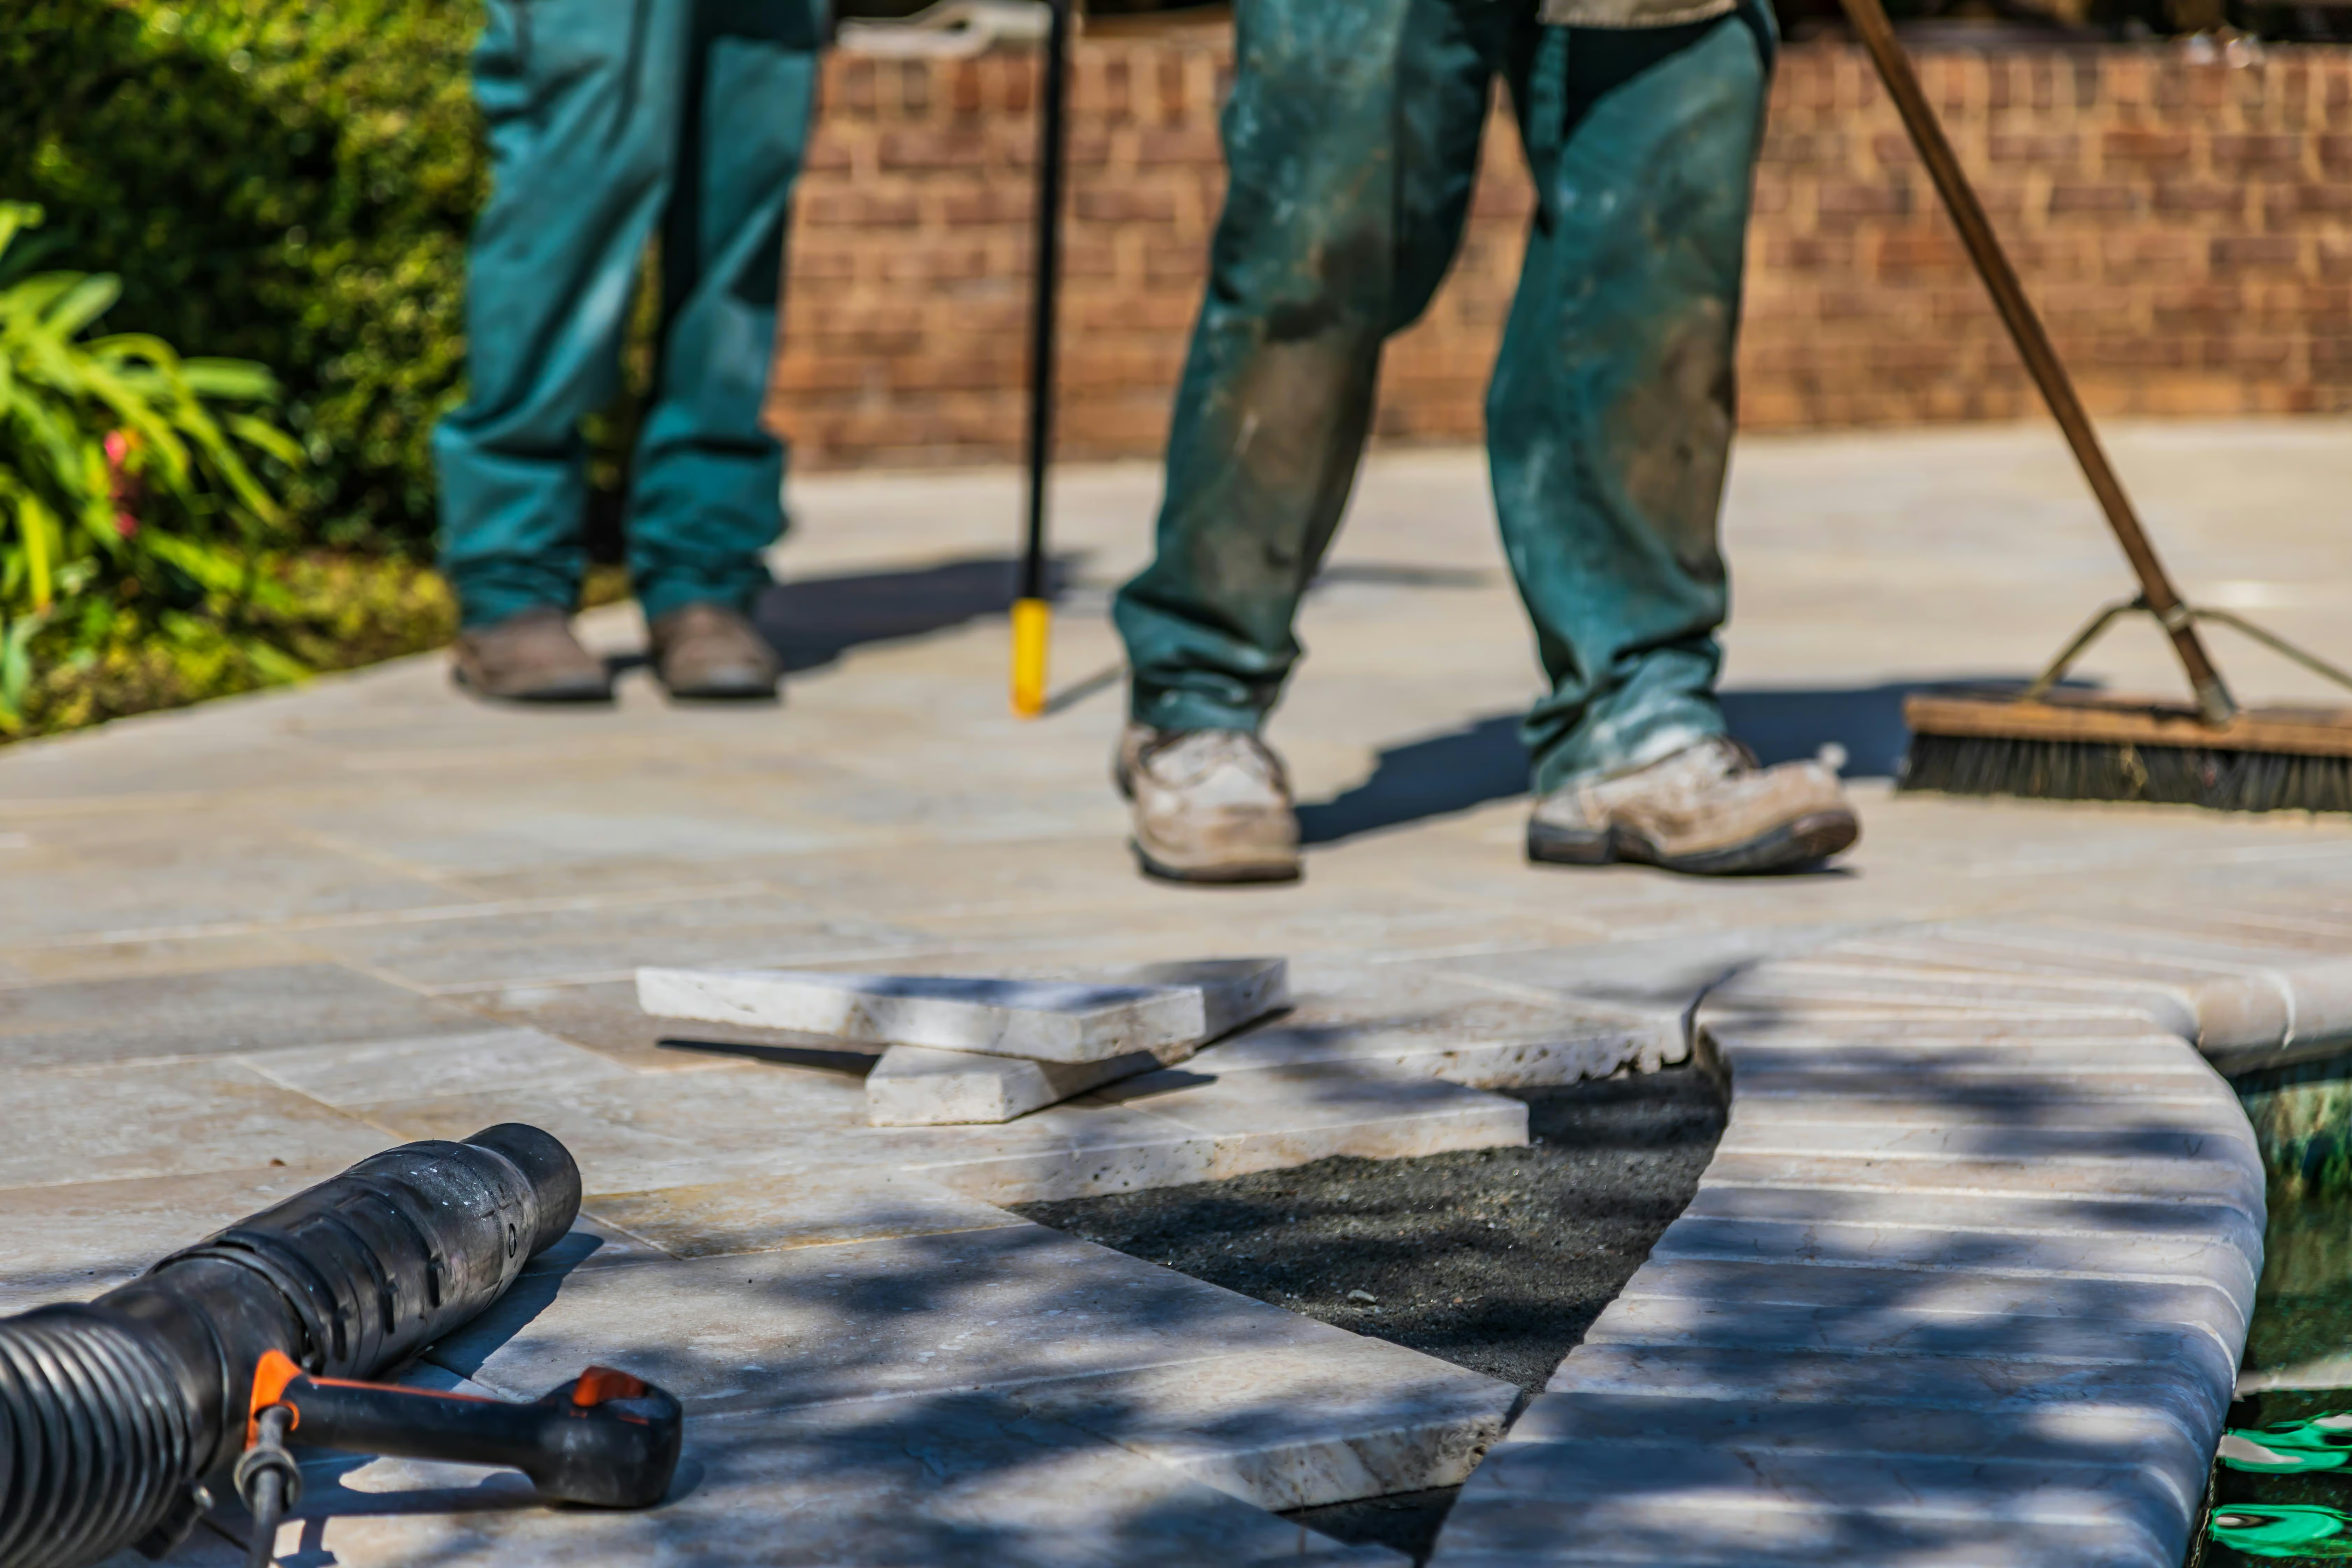
Step 10: Cleanup and Walkthrough
We remove all equipment, sweep the site, clean up any disturbed landscaping, and do a final walkthrough with you. We point out any care instructions (like keeping foot traffic off for 24 hours while the Polymeric Sand cures) and answer every question before we leave.
The number one reason paver patios fail in Seattle is a bad base. The soil here is heavy clay in most neighborhoods. Clay holds water, expands when wet, and contracts when dry. If you lay pavers on top of clay without proper excavation, gravel base, and compaction, the surface will heave, sink, and shift within two to three years. A good base costs more upfront but saves you the cost of tearing it all out and starting over. We never cut corners on the base.
Want to see exactly what your project would involve?
We walk your property, design the layout, quote every line item, and explain every step. All free.
How Much Does Paver Installation and Hardscaping Cost in Seattle?
Pricing depends on the material, the total area, the complexity of the design, access to the site, and whether the project requires retaining walls, drainage work, or demo of existing surfaces. Here are honest ranges for the Seattle metro area. Every quote is free, on-site, and written.
| Service | Typical Range | Notes |
|---|---|---|
| Patios | ||
| Paver patio (concrete pavers) | $17–$25 /sqft | Includes base, sand, pavers, polymeric sand |
| Paver patio (natural stone) | $35–$65 /sqft | Material cost drives the range; depends on stone type |
| Paver patio (porcelain) | $30–$55 /sqft | Higher material + precision installation |
| Permeable paver patio | $25–$40 /sqft | Includes deeper reservoir base for drainage |
| Driveways & Walkways | ||
| Paver driveway (concrete pavers) | $25–$45 /sqft | Heavier base required for vehicle loads |
| Walkway (concrete pavers) | $20–$35 /sqft | Width and length determine total; min. project fees may apply |
| Retaining Walls | ||
| Retaining wall (block, under 4 ft) | $50–$100 /linear ft | Includes drainage, compaction, and cap stones |
| Retaining wall (over 4 ft, engineered) | $75–$150+ /linear ft | Engineering, permitting, and taller wall complexity |
| Outdoor Living | ||
| Fire pit (built-in, stone or block) | $2,000–$5,000 | Flat rate; includes non-combustible base and cap |
| Seat walls | $50–$100 /linear ft | Matching material to patio; natural stone caps available |
| Outdoor kitchen shell | $5,000–$15,000+ | Hardscape structure only; does not include appliances or plumbing |
| Restoration & Extras | ||
| Paver restoration (existing patio) | $4–$8 /sqft | Clean, re-level, re-sand, seal |
| Demo and removal of existing concrete | $3–$6 /sqft | Jackhammer, haul-away, disposal |
| Concrete/paver sealing | $2–$4 /sqft | Penetrating sealer; natural look or wet look finish |
Prices are estimates for greater Seattle and the Eastside as of 2026. Includes materials, labor, equipment, base preparation, polymeric sand, and cleanup. Multi-feature projects (patio + walkway + retaining wall) are quoted as packages.
A concrete paver patio at $20/sqft lasts 25 to 50 years. That is $0.40 to $0.80 per square foot per year. A poured concrete slab at $12/sqft lasts 10 to 15 years before it cracks, and then you pay to demo it ($3–6/sqft) and re-pour it ($12/sqft again). Over 30 years, pavers cost less than concrete. They just ask for the investment upfront instead of spreading it across two or three replacements.
Get your free estimate.
We walk your property, measure, design, and quote every line item. No pressure, no obligation.
Seattle and Eastside Hardscaping: Why Local Knowledge Matters
Seattle soil is not like soil in other cities. Most neighborhoods sit on glacial till and heavy clay left behind by the last ice age. Clay holds water, expands when saturated, and contracts when it dries out. This cycle of expansion and contraction is what destroys poured concrete, heaves poorly built patios, and collapses retaining walls that do not have proper drainage behind them.
We know this soil. We know which neighborhoods have hardpan two feet down and which ones have soft fill that needs to be excavated deeper. We know the drainage patterns on Seattle's west-facing slopes versus the Eastside's rolling terrain. We know that Kirkland, Bellevue, and Sammamish backyards often have entirely different grading challenges than homes in West Seattle, Ballard, or Capitol Hill. This is not textbook knowledge. It comes from building in these neighborhoods.
We serve: Seattle (all neighborhoods), Kirkland, Bellevue, Redmond, Sammamish, Issaquah, Renton, Bothell, Woodinville, Mercer Island, Shoreline, Lake Forest Park, and surrounding King County communities.
How Do You Maintain a Paver Patio in Seattle?
Pavers are the lowest-maintenance hard surface option available for our climate. Compared to wood decks (annual staining, eventual rot) or poured concrete (unrepairable cracks, moss accumulation), paver maintenance is simple and infrequent.
Annual cleaning: A garden hose or light pressure wash once a year removes surface dirt and early moss. For deeper cleaning, a professional pressure wash with a rotary surface cleaner restores the original color in a few hours.
Joint maintenance: Polymeric Sand lasts 3 to 5 years in Seattle's climate before it needs to be topped off. We offer re-sanding as a standalone service. Keeping the joints full is what prevents weeds, ants, and moss from establishing between the pavers.
Sealing (optional): A penetrating sealer applied every 3 to 5 years protects against stains, enhances color, and adds a layer of moisture resistance. Available in natural look (invisible) or wet look (color-enhancing) finishes.
Repairs: If a paver cracks or shifts, we remove the affected pieces, correct the base if needed, and reinstall. The repair is invisible because we are using the same pavers, not a mismatched concrete patch. This is one of the biggest advantages pavers have over every other surface material.
Frequently Asked Questions About Paver Patios and Hardscaping
How long does it take to install a paver patio? +
Do I need a permit for a paver patio in Seattle? +
Can you install pavers over existing concrete? +
What is the best paver pattern for a driveway? +
How do permeable pavers handle Seattle's rain? +
What is Polymeric Sand and why does it matter? +
Can you match new pavers to an existing patio? +
Do pavers get slippery in the rain? +
How do retaining walls handle Seattle's drainage? +
Can I add a fire pit to my existing paver patio? +
What happens if a paver cracks or settles? +
How soon can I use my patio after installation? +
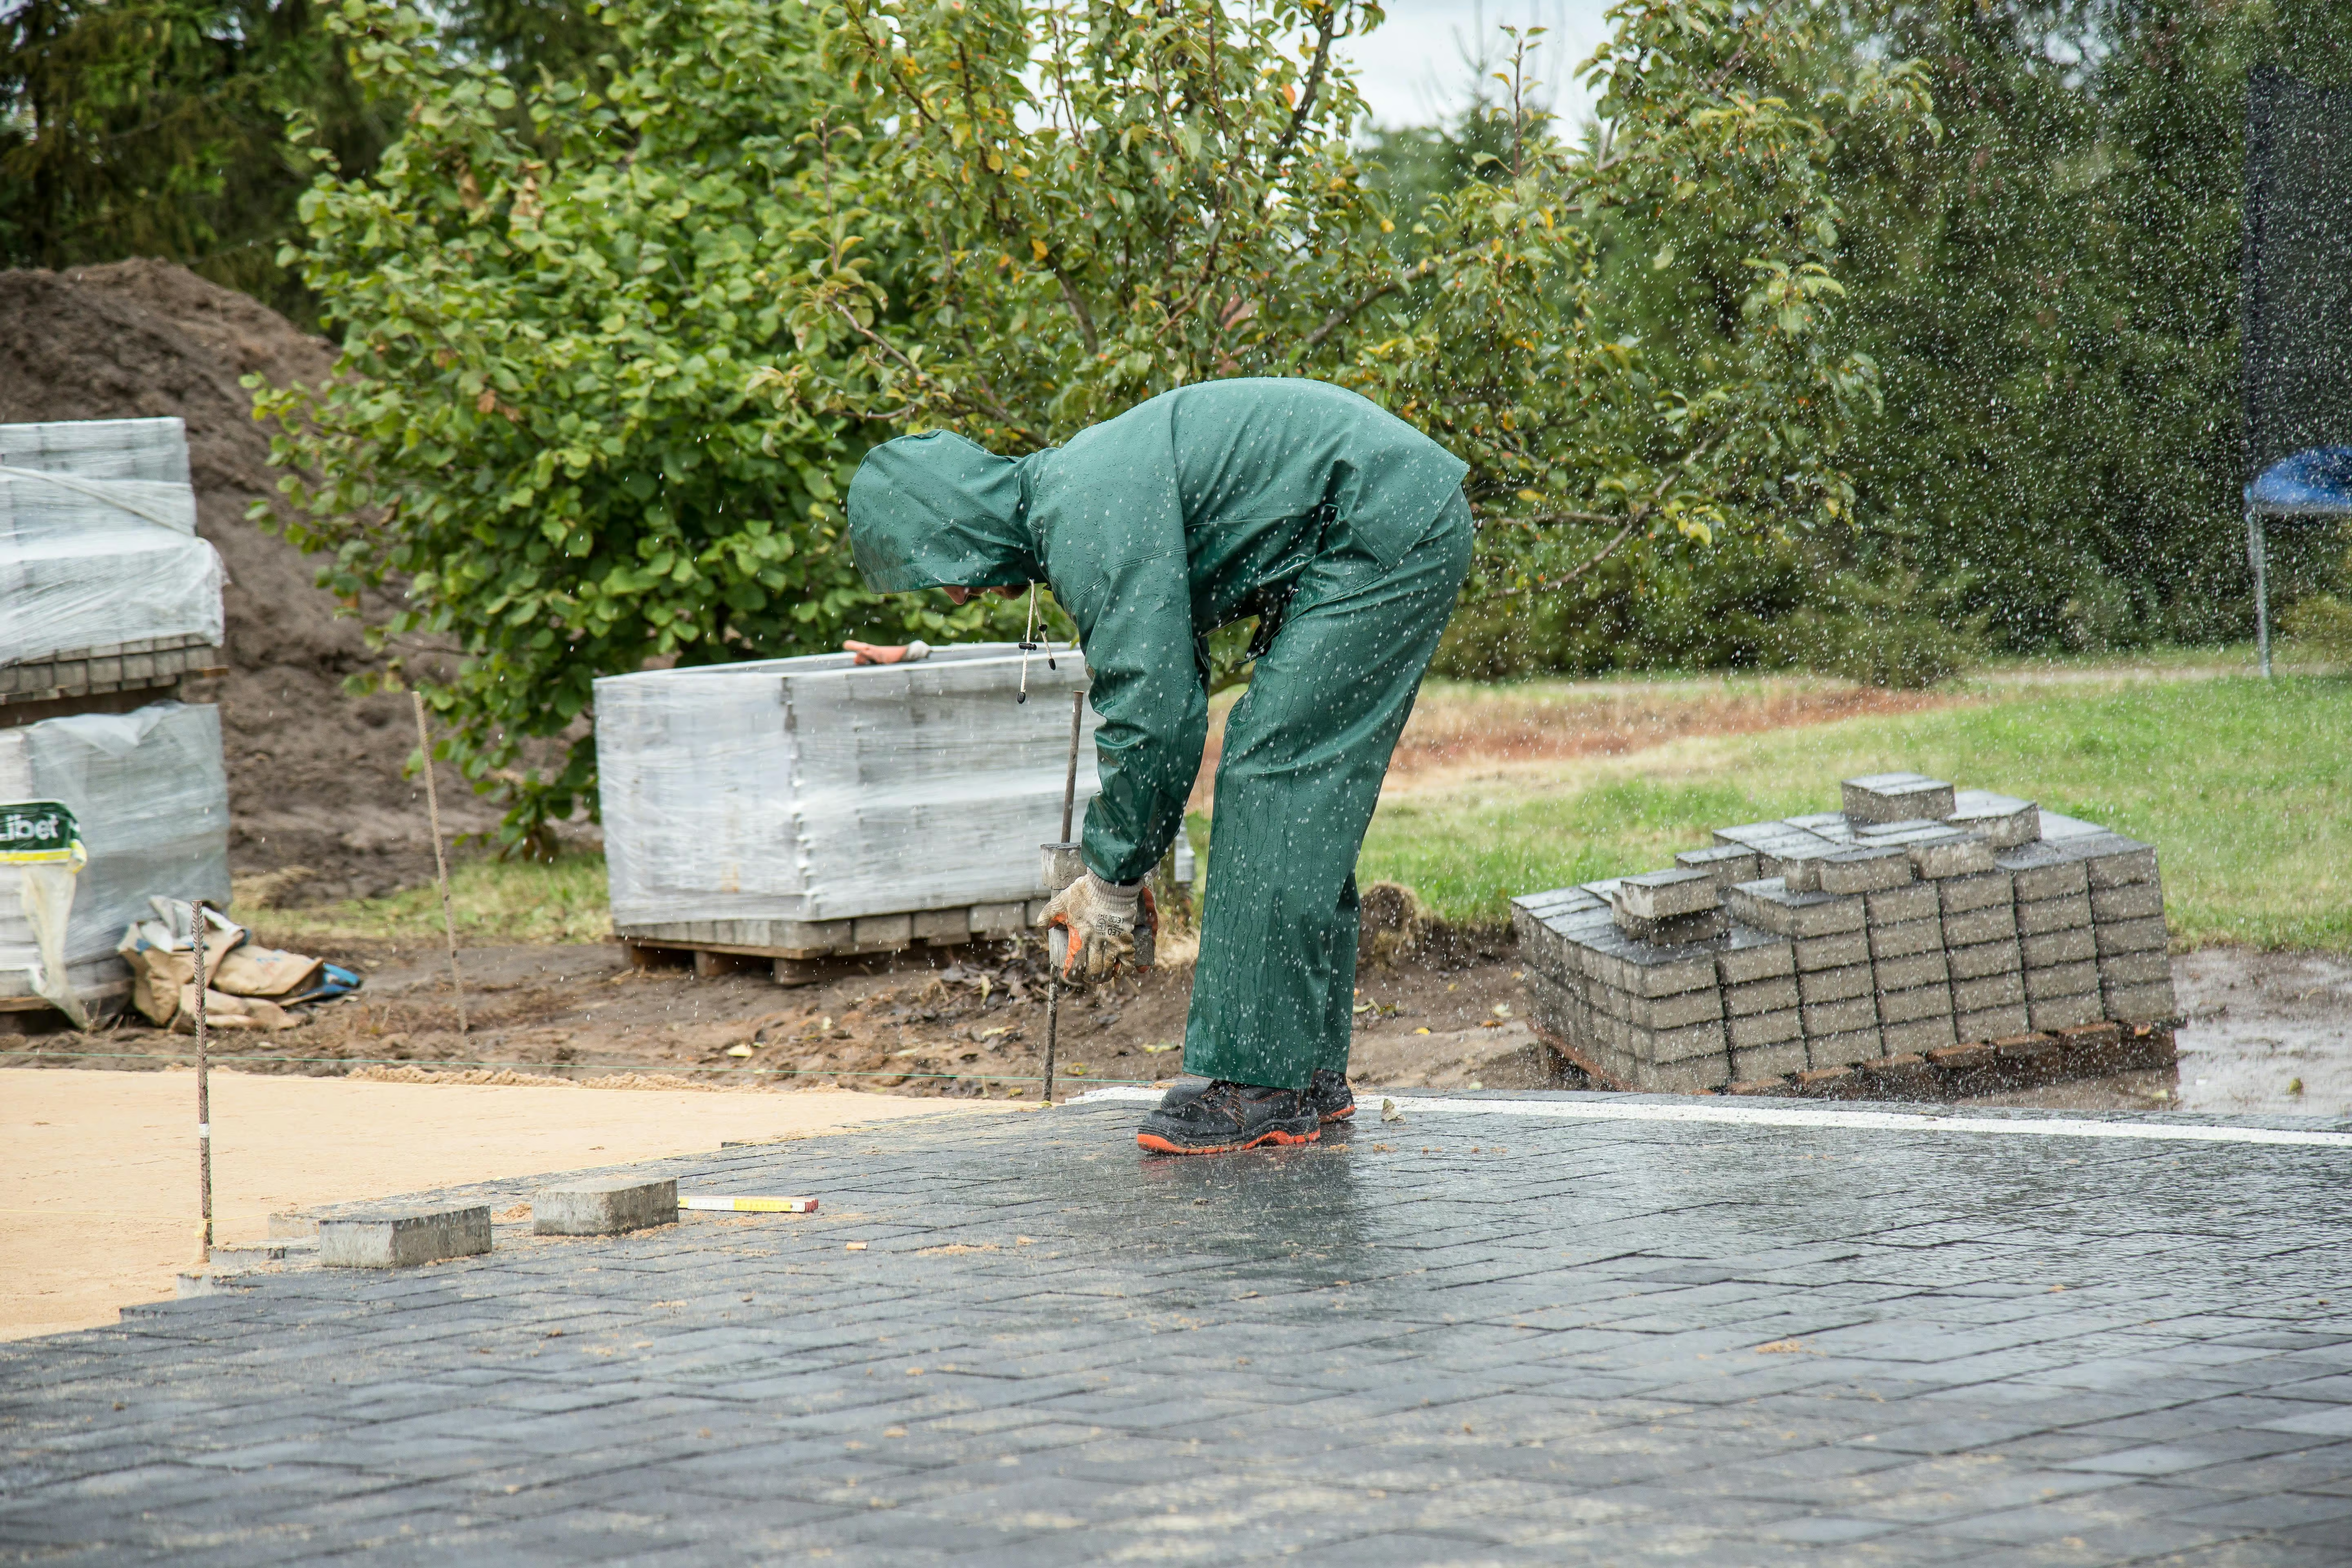
Do you work during Seattle's rainy season? +
Do you remove and haul away old concrete or patio materials? +
Can I finance a hardscaping project? +
Your Backyard Has Been Waiting Long Enough
Every week your cracked concrete sits there, it gets worse. Every rainy season your slope erodes a little more. Every summer you say 'next year' for the patio is another summer spent inside instead of outside. The project does not get easier or cheaper by waiting.
LandscapingFactory builds every hardscape feature your Seattle property needs:
- Paver patios (concrete, natural stone, porcelain, permeable)
- Paver driveways (herringbone pattern for vehicle load distribution)
- Walkways and garden paths (front entry, side yard, garden)
- Retaining walls (block, stone, segmental systems, all heights)
- Outdoor living features (fire pits, seat walls, outdoor kitchen shells)
- Paver restoration, re-sanding, and sealing for existing surfaces
- Demo and removal of old concrete, asphalt, and failed surfaces
Serving Seattle, Kirkland, Bellevue, Redmond, Sammamish, Issaquah, Renton, Bothell, Woodinville, Mercer Island, and all of King County.
Ready to build?
Request your free on-site estimate. We measure, design, and quote every line item.
Other Services
Landscaping Reviews
Neighbors talk. Here's what they have to say.